 I have this pile of quilted crazy/crumb blocks. I told you all I would do a tutorial. Well here is my method of quilting as you go and joining the blocks.
  I trimmed the batting back to the edge of the squared up block and left the backing piece there.
  I am going to use sashing and top stitch it into place. I needed to leave fabric on the back of the block to make a complete backing when stitched.
  On the extra edges I trimmed them to meet the amounts I wanted. My blocks are 9 inches squared. I know I will have seam allowances to stitch the backs together. Also will have to have a 1/4 inch seam allowance on the sashing. I choice to make a seam allowance of 1/4 inch to stitch the backs together.
 I put right sides together for the back and stitched my 1/4 inch seams.
 As you can see after pressing the seam allowance to one side I turned it over and all you see is the deco stitching and not another color on the back.
 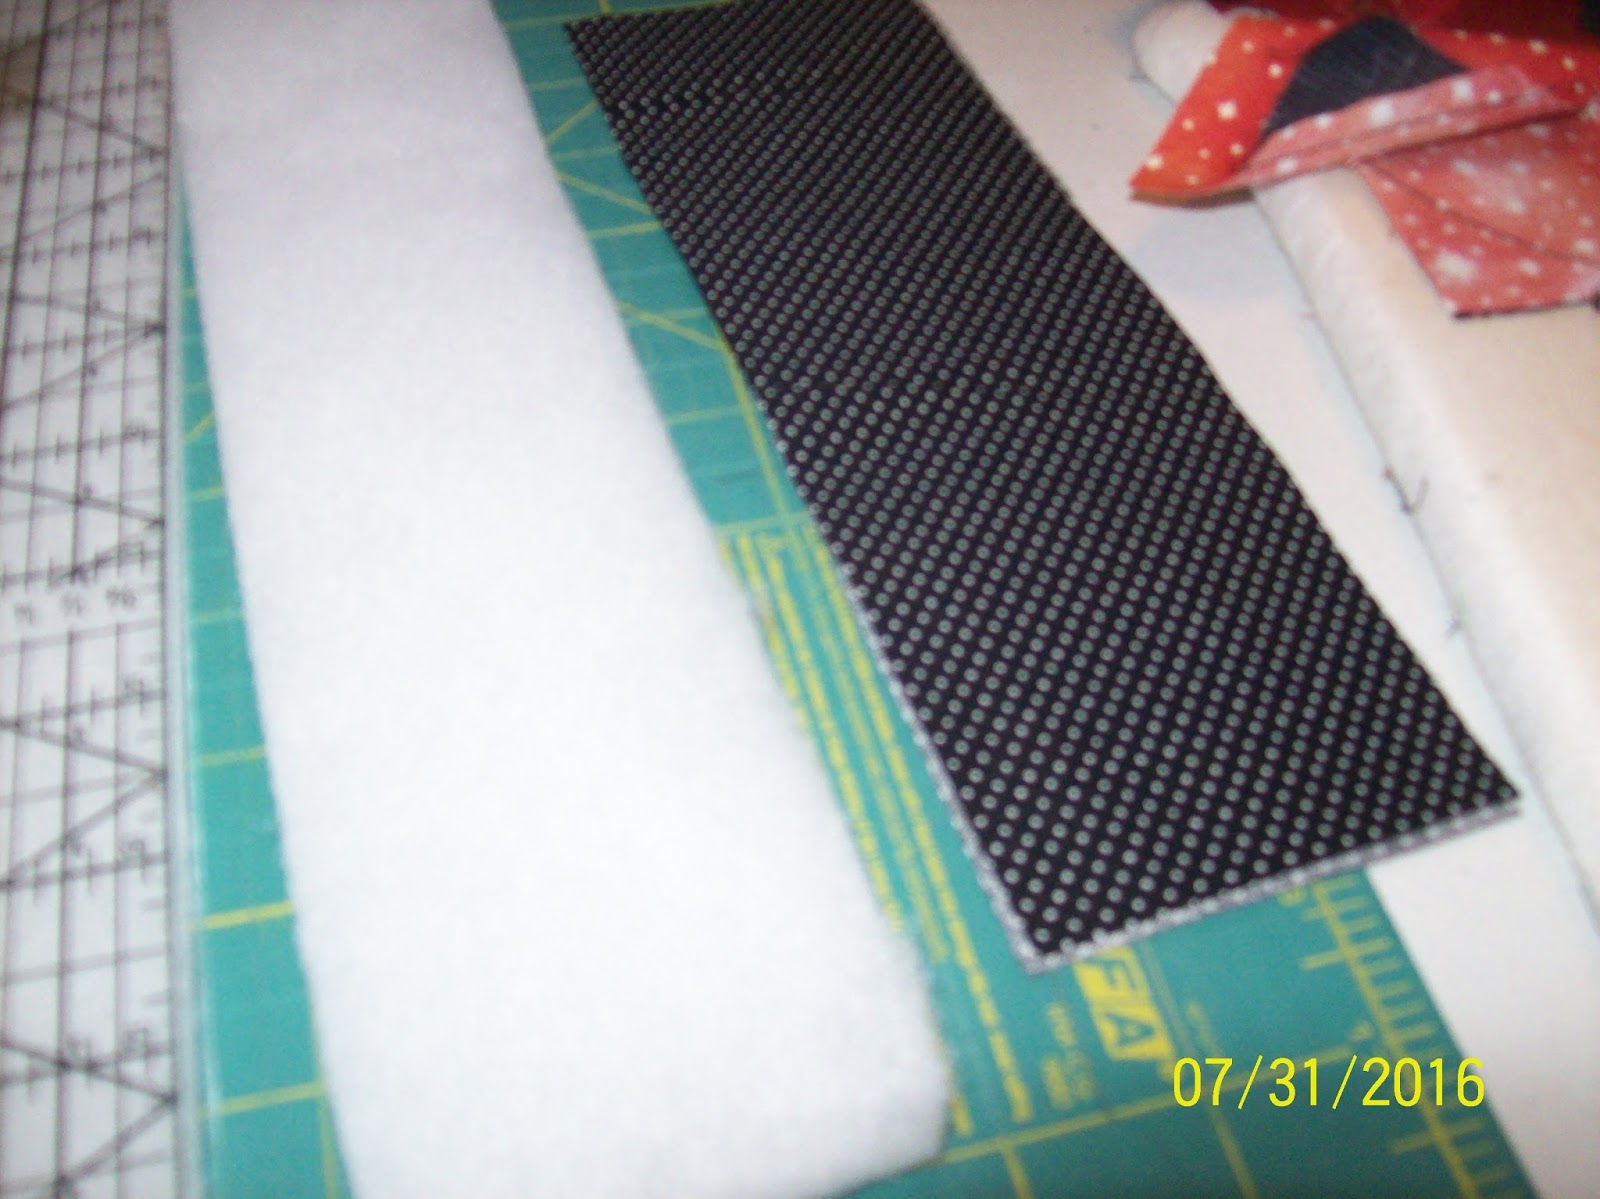 I then measured the space between blocks and remembered to add for the seam allowances and cut strips to match length and width I needed.
  I also cut my batting into strips that will fit inside of the seam allowances when they are pressed over. This is a test sample to see if the stitch width and length work for what I ma doing. Remember your settings so you can go back to it when needed.
  I did a 1/4 inch seam press on the length of each strip and added the batting strips to the inside of the black print. I pinned it to the seam allowances to cover the 1/4 inch seams I am covering on the blocks. This will encase the blocks for no raw edges when stitched down. Hopefully you understand what I am saying.
  I used a blanket stitch in black and stitched along the black sashing strips to secure in place. They are catching the batting which is laying inside of the pressed seam allowances. I then pieced them into rows. The next process will be to make long strips to sew all the seams together. After the pieces are sewn into rows and the rows stitched together the quilting is done. All that will have to happen is binding and I think I will do that by machine also. This will get loved and drugged through the house with little girls.
  In the center of the black strip I do a serpentine stitch to secure the batting. It is hard to see because of the color of the fabric.
Having stitched all the fabric seams on the blocks with decorator stitches on my machine to do the quilting and using fabric scraps this is a cheap way to make a quilt. I used leftover sections of batting that were alike and used them for the squares. Even pieced a couple of those. The only fabric I had to buy was the black mini dot for the sashing and I bought plenty to make some more sashing with it.
By tomorrow I will have some of the rows sewn together. I will add the long strips to the rows and stitch them together. Just remember to make sure you have seam allowances added into your cutting of the block backings and sashing. Then cut the batting as actual size so it is not turned under and add bulk.
Hopefully you can see what I am doing and if you have questions let me know so I can clarify it to you. Chris
No comments:
Post a Comment